
How tanks fail
A hot water tank rusts from the inside out. The bottom gives way and gallons of water pour onto the floor, spreading across the basement, damaging anything in its path.
What RetroSeal catches
A tank never announces its failure. It simply lets go, and the water finds the lowest point.
The death by a thousand drops
A pinhole rusts through the steel. Water weeps for weeks, soaking into drywall and framing before you ever see a stain.
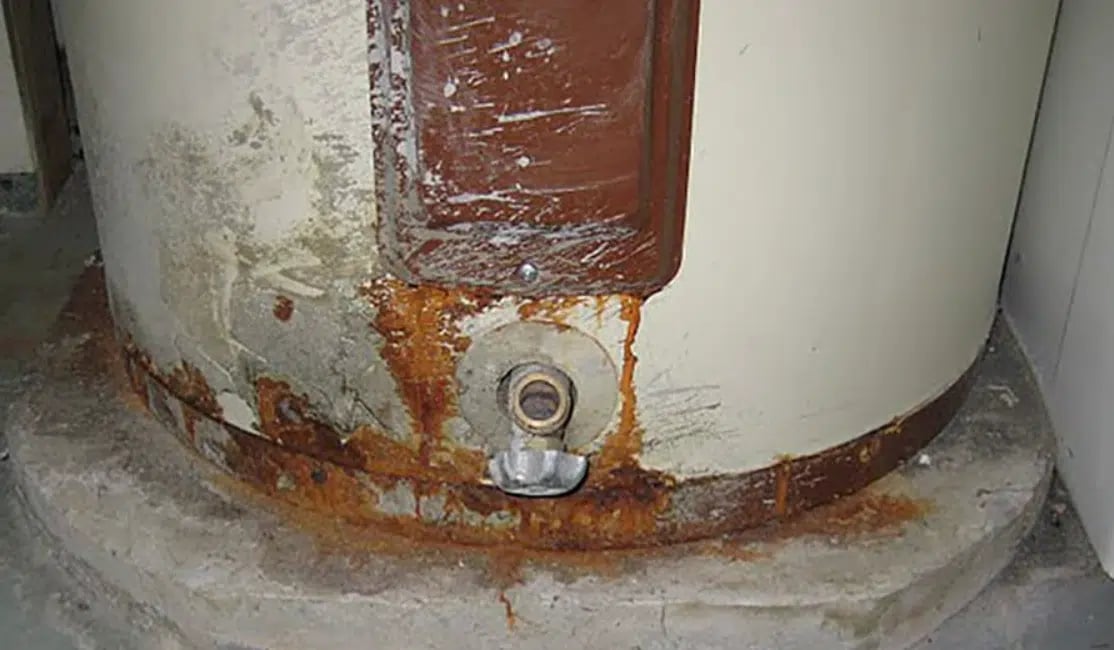
The bottom drops out without warning
Corrosion eats the tank floor. One day the pressure wins. Gallons hit the floor in minutes.
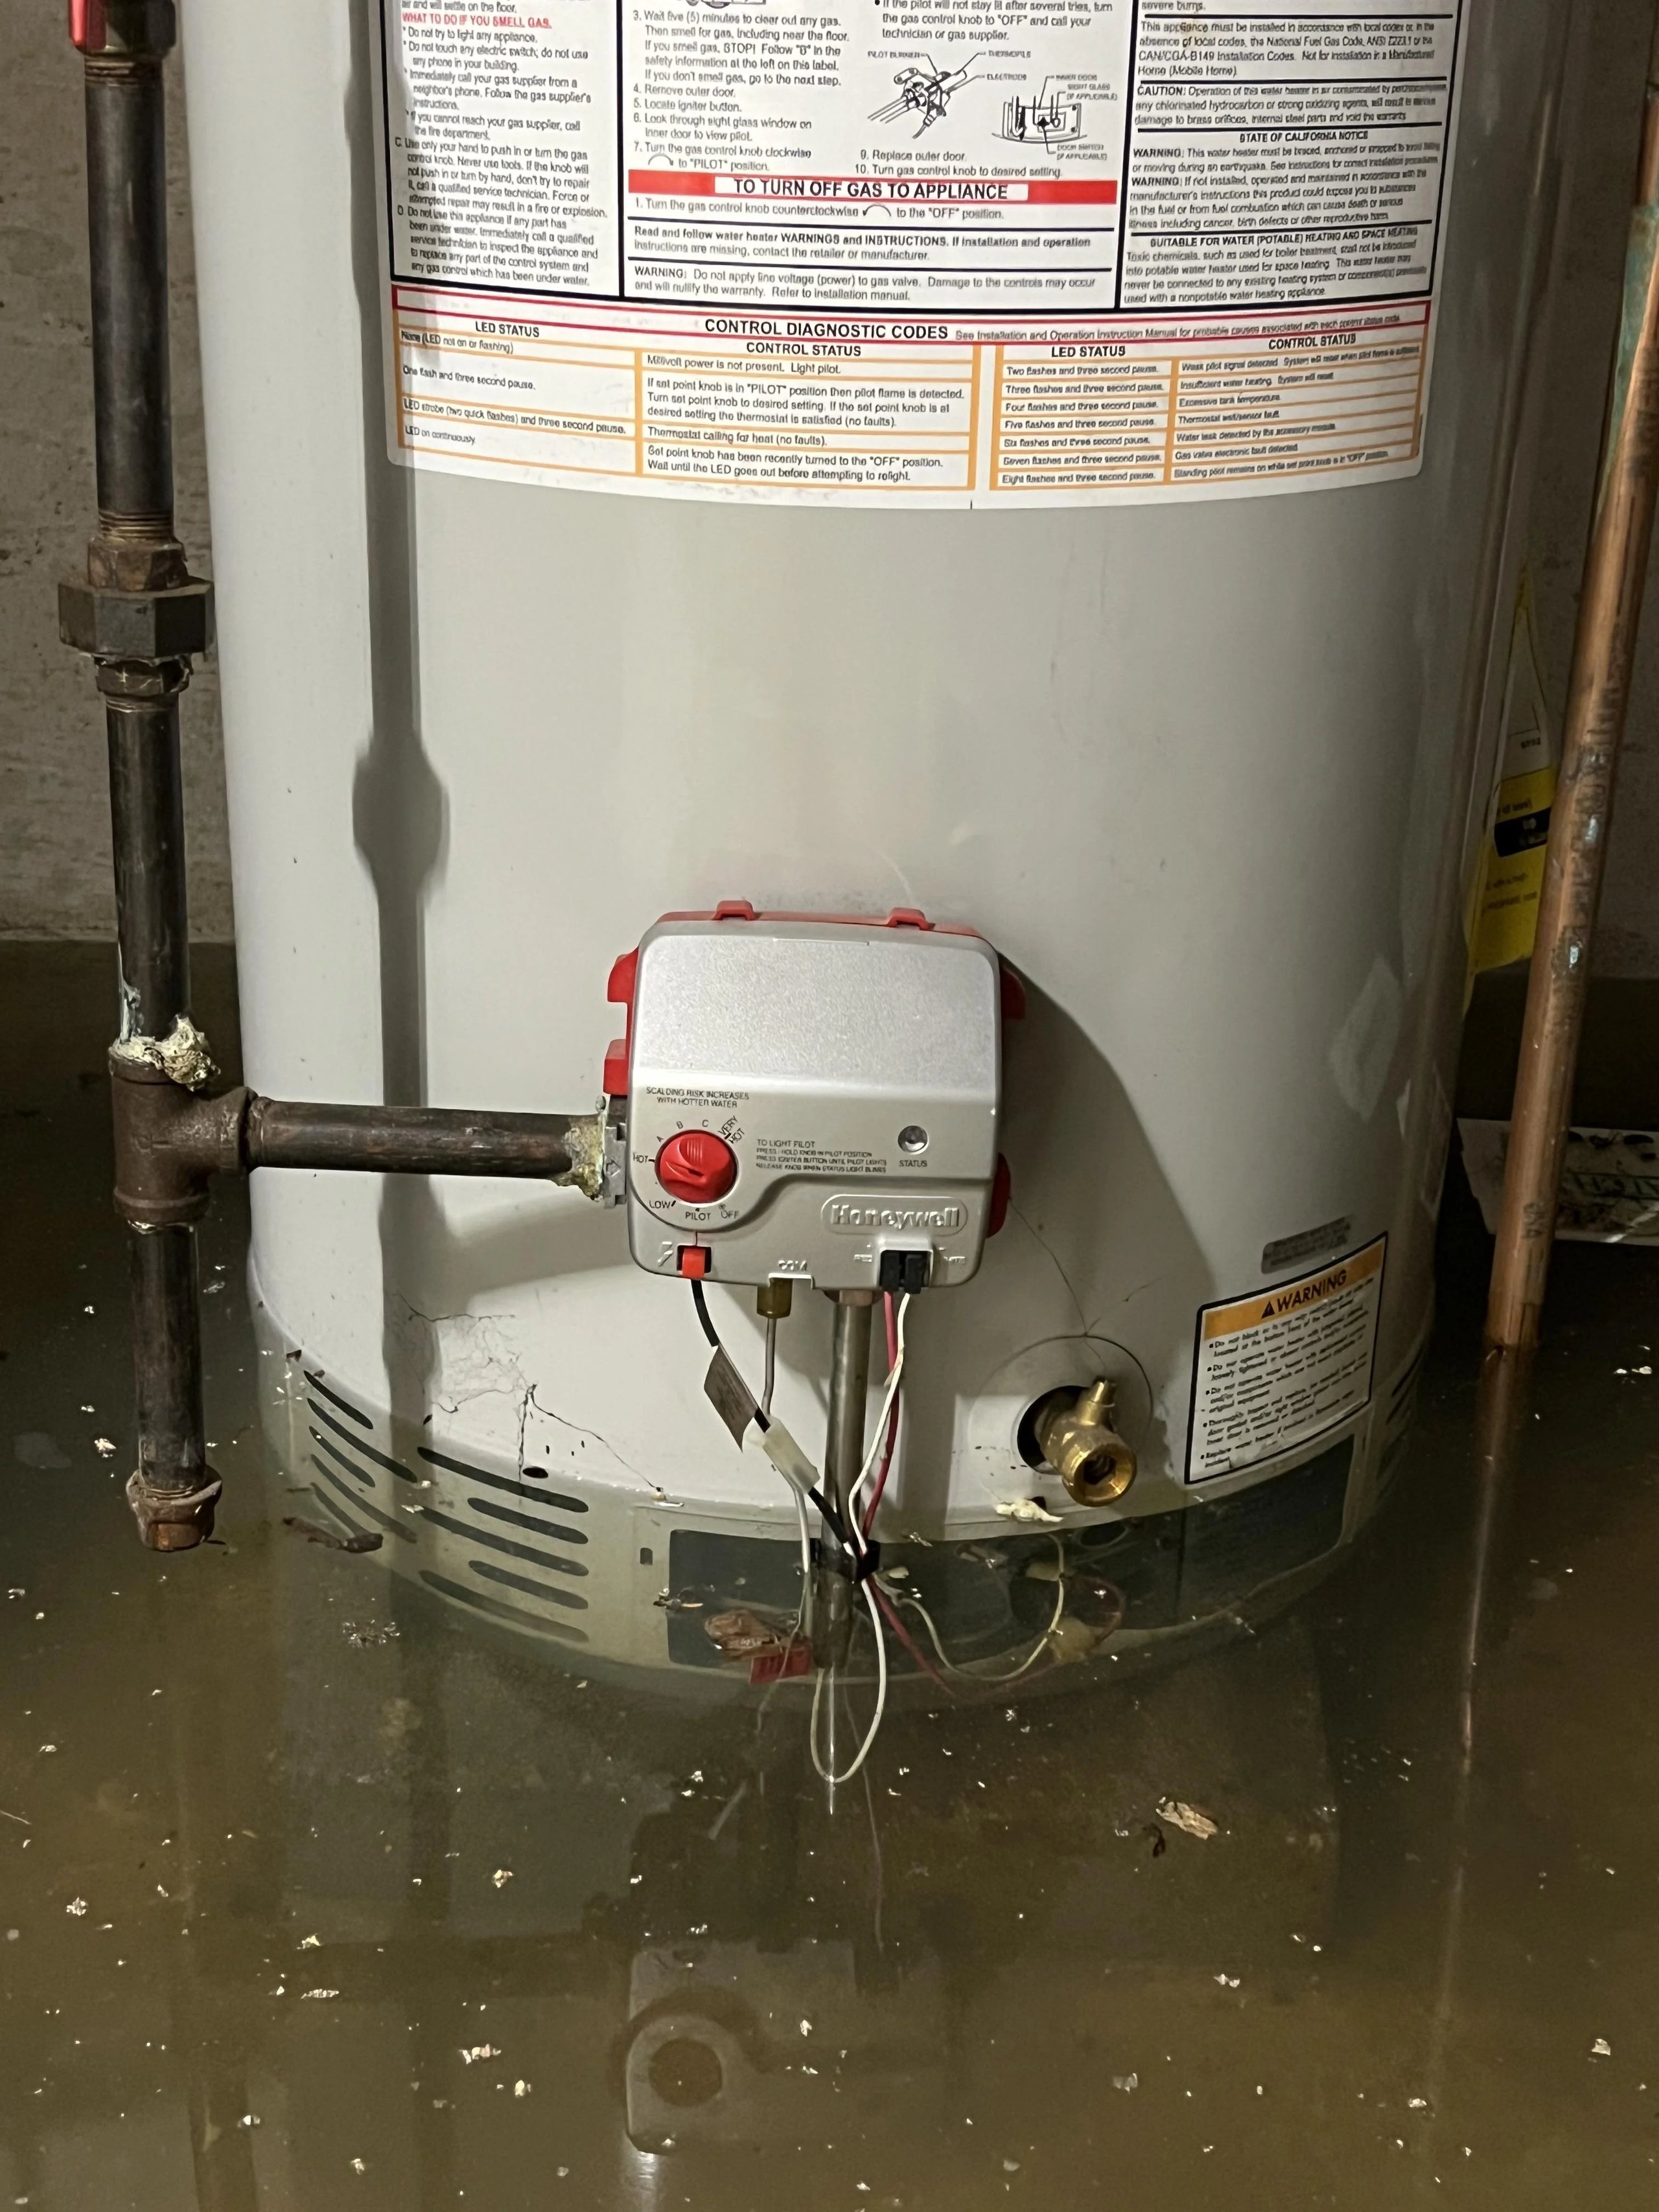
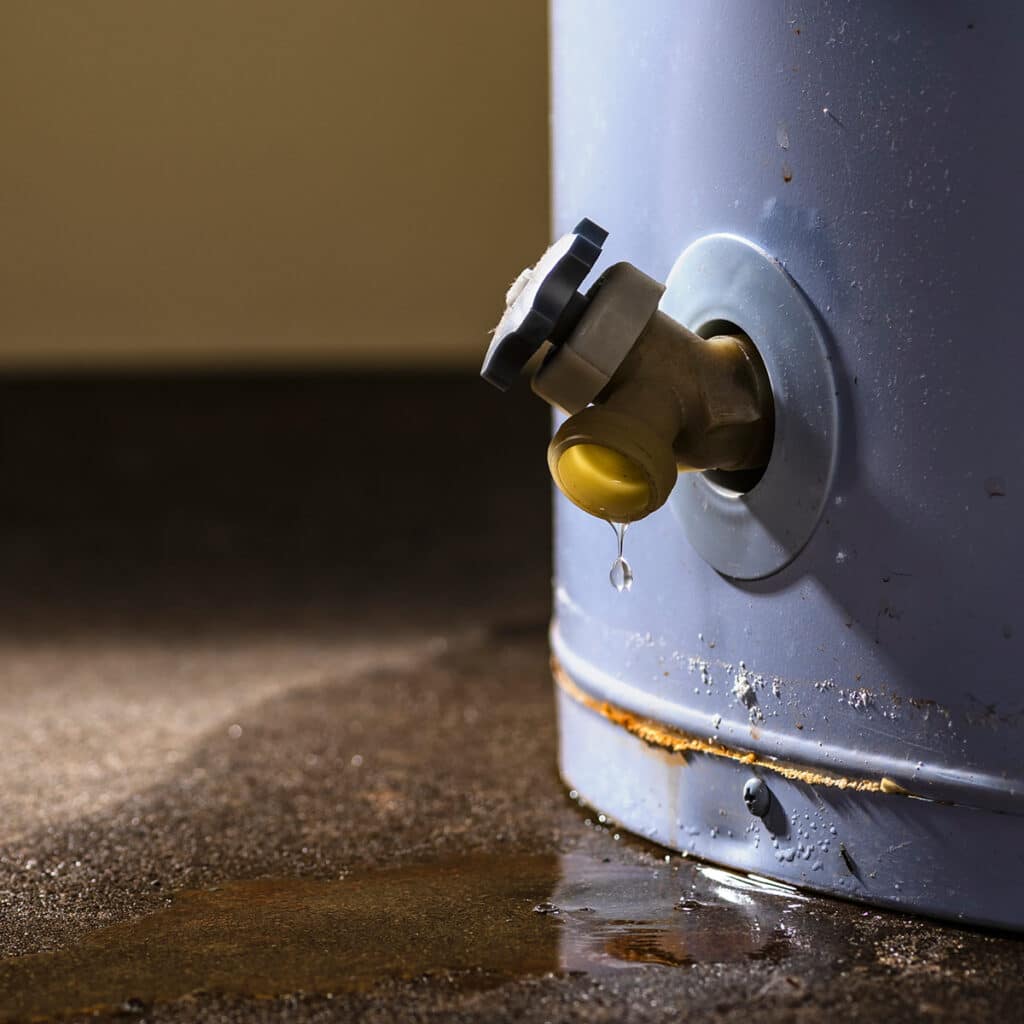
The weak points break first
Drain valves crack. Relief valves stick open. These small parts fail and feed a steady stream onto the concrete.
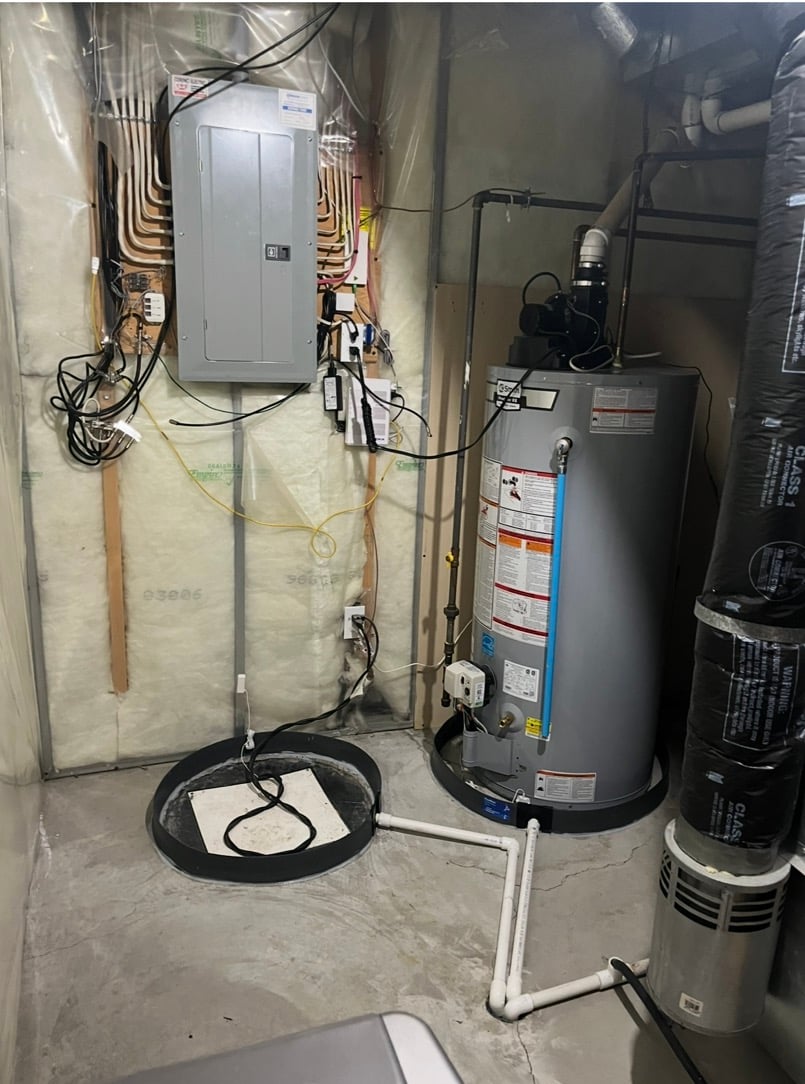
A barrier that retrofits in one simple trip to the basement or mechanical room.
No tank removal. No plumbing cuts. Just a clean fit, Edmonton. Take a look at our simple, four-step process to installing RetroSeal in your home, today.
Clear
Clear
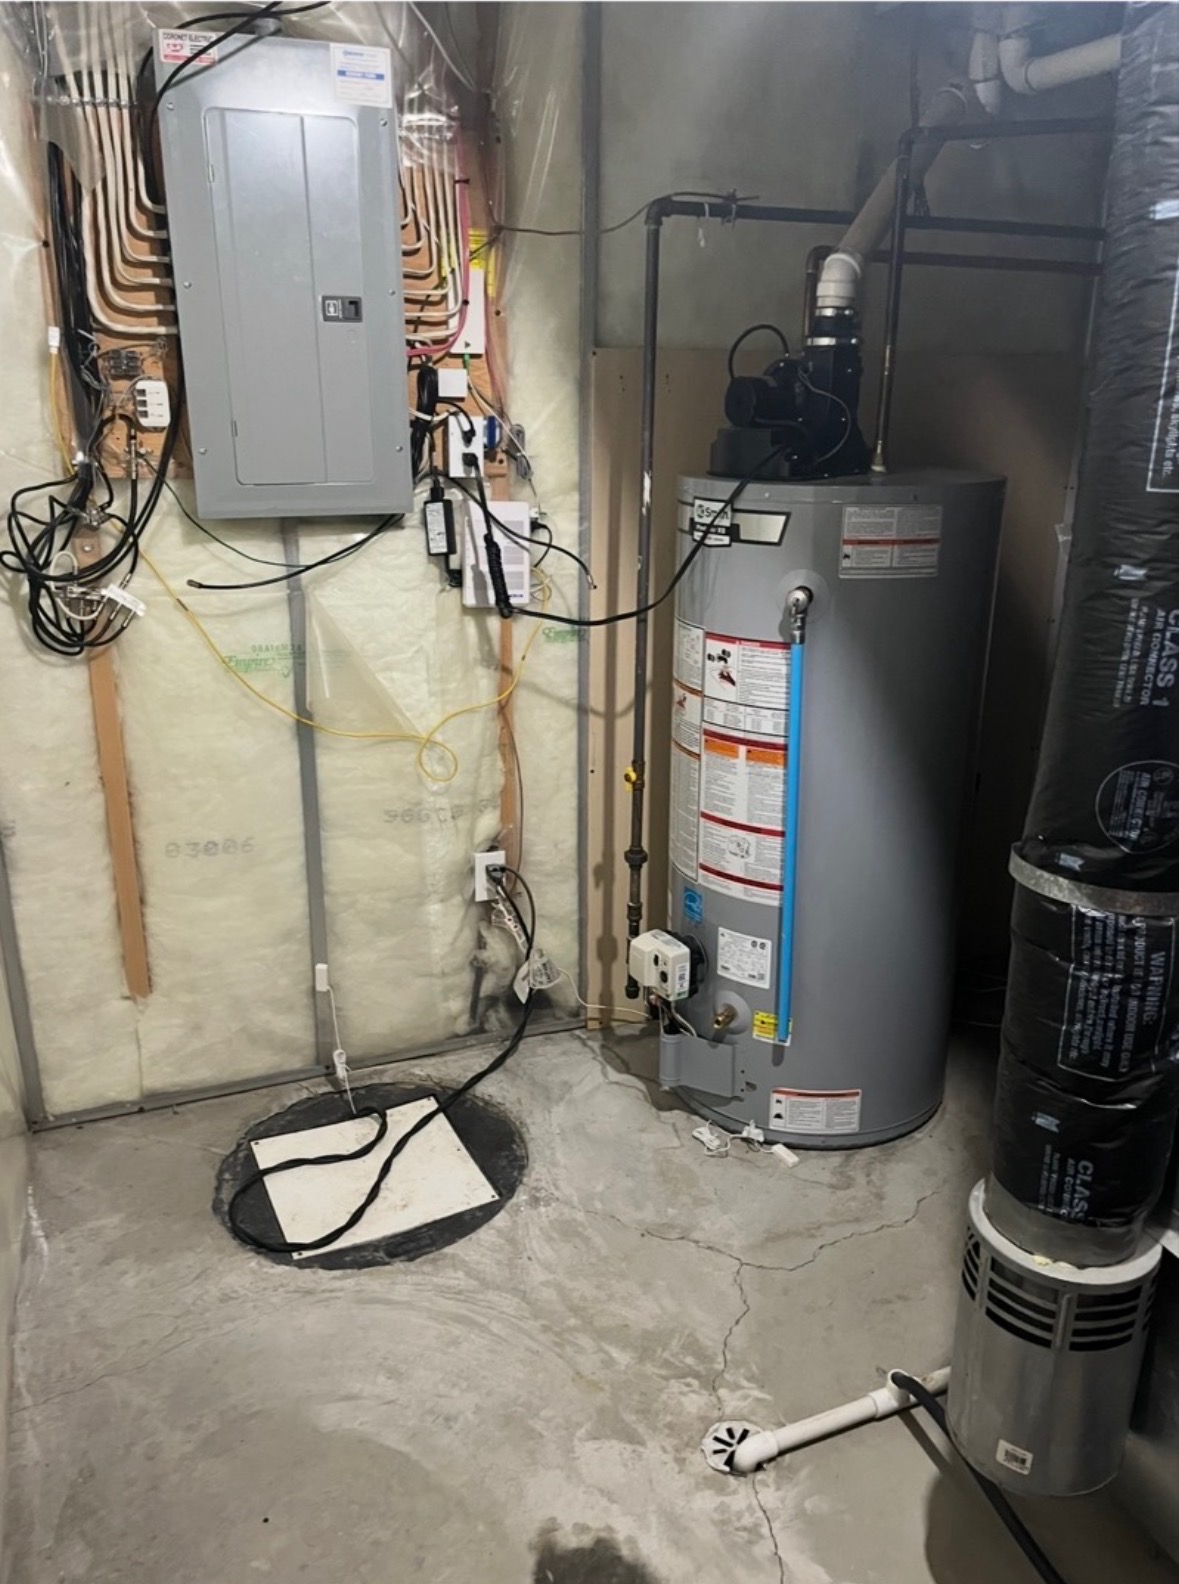
Clear the tank footprint
We clear the area and sweep the floor around the tank. The area must be clean and dry for the barrier to seat properly.
Place
Place
Place The Connector
Face the RetroSeal drainage connector towards the nearest floor drain.
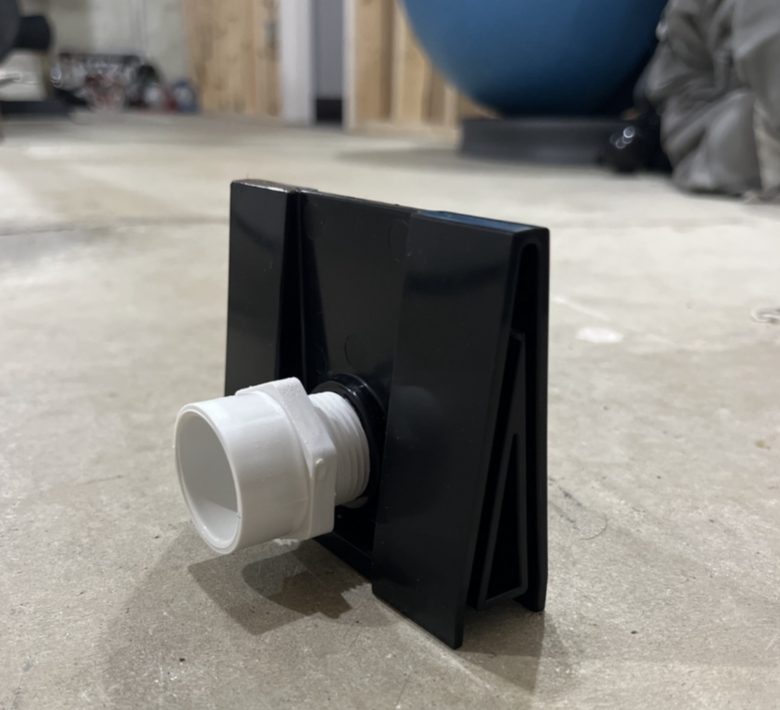
Assemble
Assemble
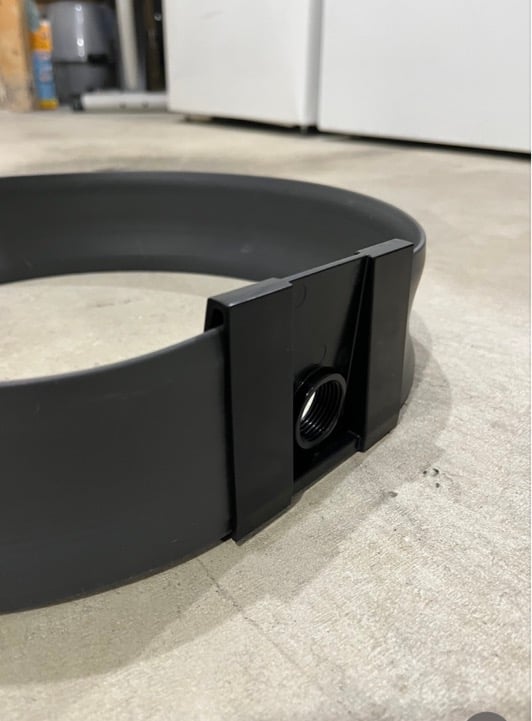
Assemble the Barrier Wall
The RetroSeal panels lock together around the tank base. No tools needed. The wall forms a watertight ring in minutes.
Connect
Connect
Connect The Floor Drain
A connected line runs from the barrier to a drain or sump pit. Gravity does the rest of the work.
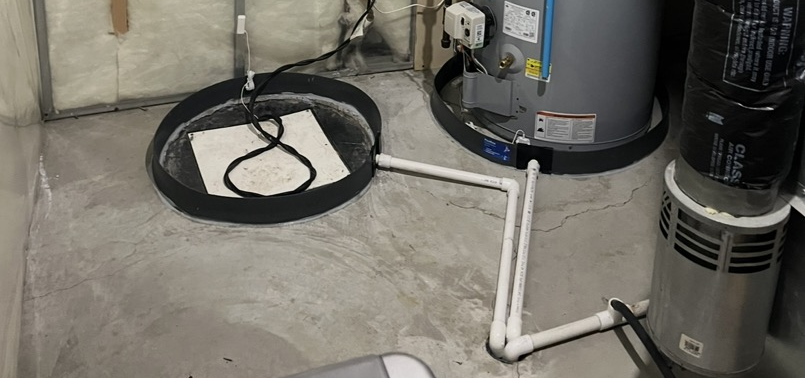
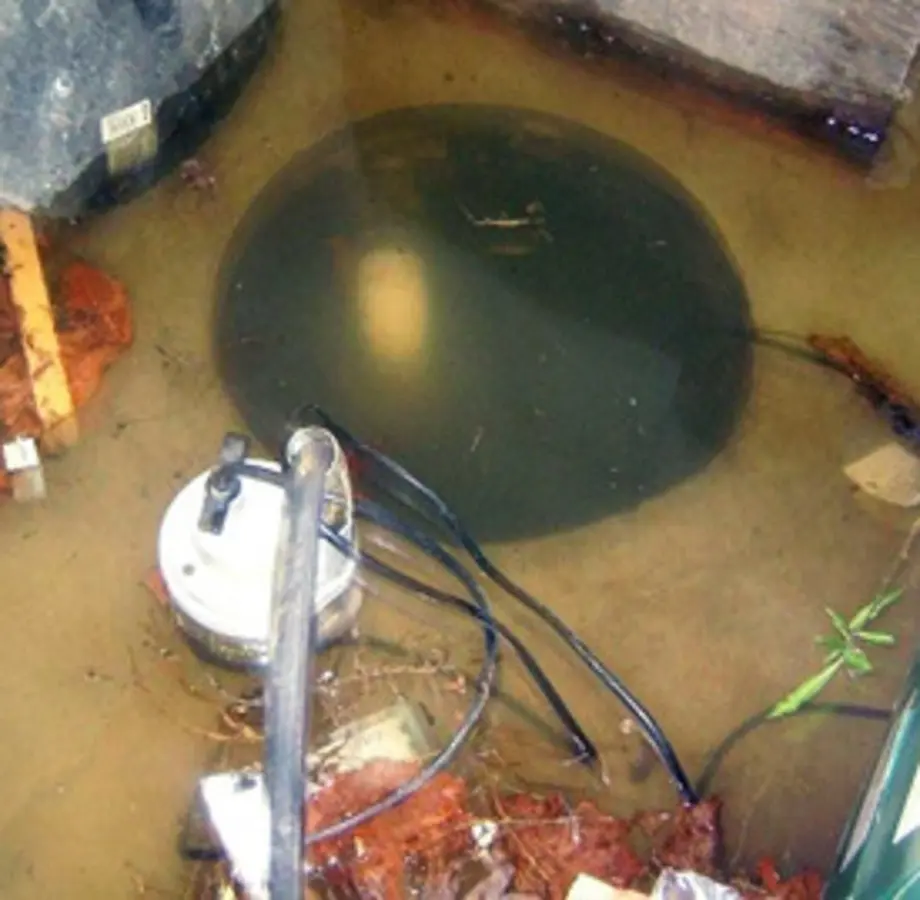
Your sump pump can also fail, having your sump pit overflow.
RetroSeal contains the water around the pit, and can pipe that directly into the drain, so it doesn't flood your basement.
Diverts the surge before the pit overflows; flooding your basement.
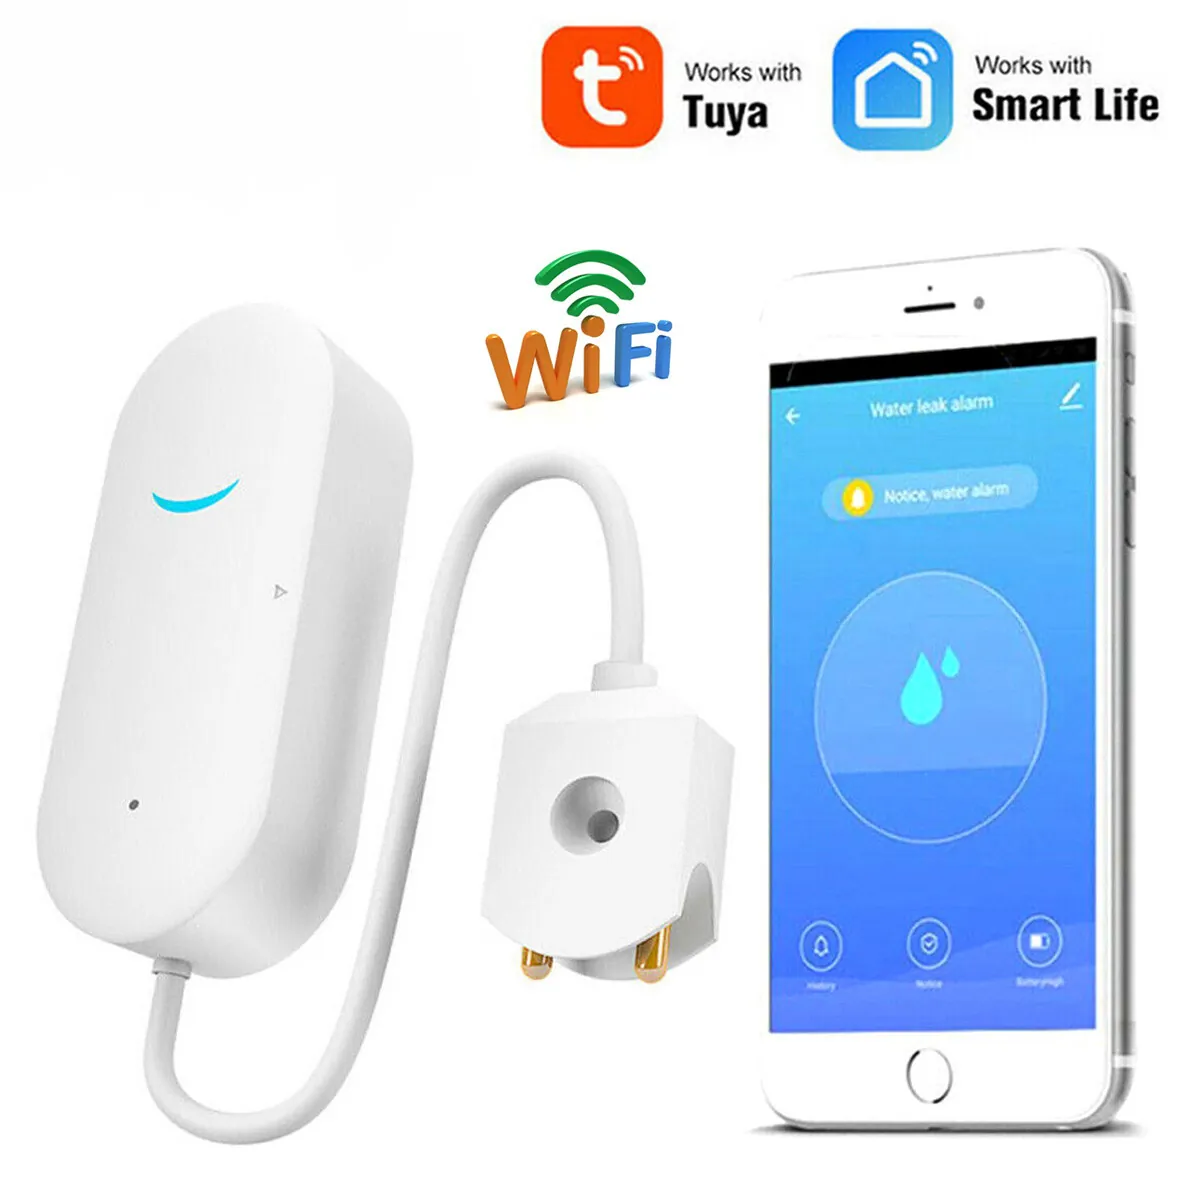
Optional leak detector notifies you when there is water present in your sump pit, so you can be aware and stay ahead of any catastrophe.
Keeps the floor dry even during a catastrophic failure.
Add a Wifi-Enabled Leak Detector
Get peace of mind around the clock. The optional Wifi-enabled leak detector sends an alert straight to your phone the moment water begins forming in the enclosed area — so you know the instant something's wrong, even when you're away from home.
Real-time alerts sent directly to your phone, anytime.
Detects water the moment it starts forming in the sealed area.
Stay ahead of a failure before it becomes a flood.
Stop waiting for the leak
Protect your Edmonton home and order RetroSeal today
A flood does not give a warning. Get a quote and put a real barrier in place before the rust wins.
Get retroseal installed today
Tell us about your tank and/or your sump pit situation and we will handle the rest.